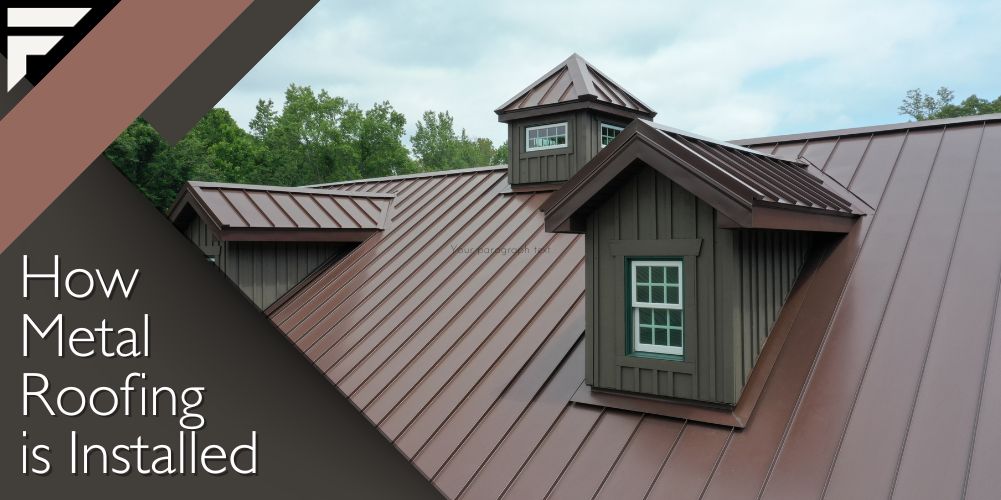
Introduction to Metal Roofing
How are metal roofs installed? This process can be tricky if you've never installed a metal roof before, which is why we offer some tips to help streamline the procedures for this challenging home improvement project. A metal roof can enhance the structural integrity of your home while increasing its value since it's one of the longest-lasting roofing materials available. And with proper installation, it's also the easiest to maintain. Read on to learn more.
Understanding the Advantages of Metal Roofing
Before making a final decision to install a metal roof on your home, it's essential to understand the benefits of metal roofing. The primary reason why metal is such a popular choice is its exceptional longevity. On average, a metal roof can last 25 to 50 years if it’s installed properly and well maintained. Furthermore, higher-end types constructed from materials like copper or zinc can endure for almost 100 years.
Another advantage is how lightweight the material is compared to other roofing options. In fact, if you wonder how metal roof panels are installed when they look so heavy, you might be surprised to find out that the panels are easier for a construction crew to lift and move around. This characteristic, in turn, translates into cost savings on engineering expenses and also saves time, as the installation process is simpler compared to that of shingles and tiles. Furthermore, you'll experience cost savings on your heating and cooling expenses because metal roofs effectively regulate temperature with their reflective qualities. Additionally, metal roofing is fire-resistant, potentially leading to savings on your homeowners' insurance policy.
Setting the Roof Structure and Measurements
When it comes to installing metal roofing, one of the most important steps is to measure your roof’s length, width, and rise for one section. To get the rise, you’ll measure the distance between the lowest point of your roof and the highest point. From there, you’ll use the measurement of the rise to get the slope which is calculated by dividing the rise by the run (the distance across the roof). Next, you’ll compute the slope factor by squaring the rise number and adding it to the run’s measurement. After that, you’ll take the square root of that sum and divide it by the run. Finally, you’ll multiply the slope factor number by the area measurement which will give you the square footage for that section and consequently, the amount of material you’ll need to cover it. You’ll need to repeat this process for each section.
Though the process is extensive, getting accurate measurements will save you a ton of money in metal roof installation costs and ensure a successful process.
Safety Precautions and Equipment for Installation
In addition to taking accurate measurements, the roof installation crew must also exercise caution as they work near the edge of the roofing deck while securing the panels. This means that they’ll need scaffolds where they can safely stand while working. Of course, ladders provide access to the top of the platforms or aerial lifts, and in some cases, the roofers will need to use a Personal Fall Arrest System. If they are handling sealants, then they will be required to wear personal protective equipment to prevent exposure to the chemicals.
Addressing Roof Penetrations and Chimneys
Preparation is Key: Before you start installing the panels, it's crucial to ensure a solid foundation. Begin by securing a moisture barrier or roofing paper onto the roof deck. Pay close attention to areas around vents and, if applicable, the chimney. Additionally, make sure to install drip edges and closure strips before proceeding to the panel installation. Once in place, add sealant tape along the drip edges and then position the closure strips on top, removing the backing paper to secure them
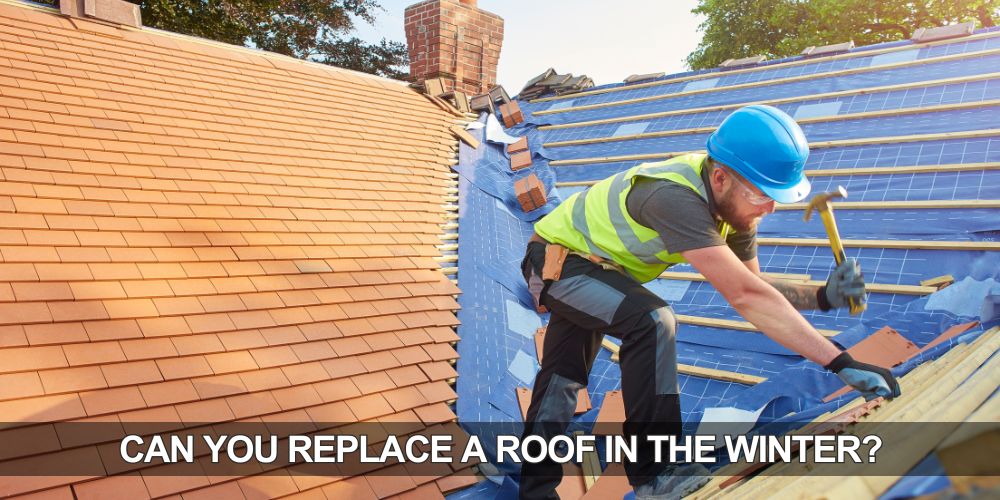
Panel Installation: As you embark on securing the panels, it's best to start at the eaves. Always remember to overlap the larger edges with the smaller edges of each subsequent panel. To ensure a waterproof seal, apply silicone sealant beneath each small edge. During this process, you may need to cut panels to fit around openings, such as vents, chimneys, or skylights. Ideally, you should have measured and marked the panels around these openings at the beginning of the roof installation process. To cut the panels to fit, you can use a circular saw or tin snips.
The Finishing Touch: Finally, when it's time for the finishing touch, don't forget about the ridge caps. To position them correctly, mark their location using a chalk line. Also, be sure to select the appropriate closure strip, whether it's vented or solid.
Final Inspection and Quality Checks
When inspecting the final result, you can start by standing a few yards away from the house and looking for any irregularities, including debris, stains, scratches, or dents. After that, you’ll gradually inspect the roof more closely, first using binoculars and then climbing up to it on a ladder for a walk-through.
Regular inspections should also be conducted twice a year to ensure that no major repairs are needed. Likewise, if you keep the roof free of debris and dirt, including the gutters, it will last for many decades.
Conclusion
Investing in a new roof is a smart and profitable choice for enhancing your home. When it comes to selecting the right roofing material, consider your home's style, the local climate, and your budget. Another important tip to consider is avoiding the DIY option and calling the professionals who can guarantee a sturdy, long-lasting, visually appealing metal roof that’ll add value and protection to your home. Offering commercial and residential services in the Chicago area for almost 4 decades, Chicago Roofing specializes in stamped metal roofing along with exposed and hidden fastener options. So don’t risk making mistakes that would increase your metal roof installation costs. Call the professionals roofer contractor today.


